When moving into a new rental, most people focus on packing boxes and scheduling movers — but few think about what protects their belongings once they’re in the new place. Renter’s insurance isn’t just a box to check on a lease; it’s what covers your furniture, electronics, and valuables if something goes wrong. Whether your move is across town or across the country, transferring or updating your renter’s insurance policy is a crucial step.
This guide explains how to manage your renter’s insurance during a move, so you stay fully protected from day one in your new home.
Why Renter’s Insurance Matters When Moving
Many renters mistakenly believe their landlord’s insurance covers their personal property. It doesn’t. Landlord policies only protect the building, not your belongings. Renter’s insurance typically covers:
- 🏠 Personal property — protection against theft, fire, water damage, and other perils
- 🧾 Liability coverage — if someone gets injured in your home
- 🏨 Loss of use — covering temporary housing if your home becomes uninhabitable
Without updating your policy, you risk a gap in coverage during the move — and that’s exactly when damage or loss is most likely to happen.
Step 1: Review Your Current Renter’s Insurance Policy
Before your moving date, pull out your renter’s insurance policy and check:
- 📄 Policy start and end dates
- 📍 Address listed on the policy
- 🧾 Coverage limits for personal property
- 🚚 Coverage for items while in transit
- 🛑 Any exclusions or location-specific limitations
If your current policy covers moves, you may be able to stay protected during the transition period without purchasing additional coverage.
Step 2: Contact Your Insurance Provider Early
Most insurance companies require advance notice to transfer or update a renter’s policy. Ideally, reach out 2–3 weeks before moving day to:
- 🧭 Inform them of your new address and move-in date
- 📅 Schedule a coverage transfer or new policy activation
- 💰 Ask about premium adjustments (your rate may change)
- 🧾 Confirm coverage during the move itself
This ensures your policy aligns with your moving timeline and there’s no gap in protection.
Step 3: Understand In-Transit Coverage
Some renter’s insurance policies automatically cover your belongings while they’re being moved from one address to another. Others don’t. To avoid costly surprises, ask your insurer:
- 🚛 Are items covered while being transported?
- 📦 Is there a coverage limit or deductible during the move?
- 📝 Do I need to purchase temporary moving insurance?
If your current plan doesn’t offer this, consider supplemental coverage for moving day.
Step 4: Compare Your Old and New Neighborhood Risk
Insurance premiums aren’t just based on your belongings — they’re also influenced by location. Factors like crime rates, flood zones, and building types can impact your monthly cost. When moving:
- 🏙️ Ask your insurer how your premium will change
- 🌊 Check if flood or disaster coverage is needed
- 🏢 Update the square footage and type of property (apartment, condo, house)
This is also a good opportunity to reassess whether your coverage limits still match the value of your belongings.
Step 5: Time the Policy Transfer Carefully
To make sure you’re covered the entire time, schedule the end of your old policy for the day after your move-out and your new or updated policy to begin the day before your move-in. This overlap protects your items if:
- 🚚 The move takes longer than expected
- 🪞An accident happens during loading or unloading
- 💦 Damage occurs in transit
Even a short coverage gap can leave thousands of dollars in personal property unprotected.
Step 6: Update Personal Property Inventories
Your belongings may have changed since you first bought your policy. Use your move as a chance to:
- 📸 Photograph or video-record valuable items
- 📝 Update your digital or printed inventory list
- 🧾 Save receipts or appraisals for high-value items
- 💻 Store backups in the cloud or a secure drive
This documentation is vital if you ever need to file a claim.
Step 7: Understand Your Deductible and Coverage Limits
Every renter’s insurance policy has a deductible — the amount you pay out of pocket before coverage kicks in. When moving, double-check:
- 💲 Your current deductible amount
- 🏡 Whether certain high-value items (jewelry, electronics) require riders
- ⚠️ If coverage limits match the value of your current inventory
If necessary, update your policy or add endorsements for special items.
Step 8: Notify Your Landlord of Policy Changes
Many landlords require proof of renter’s insurance as part of the lease. When you move:
- 📩 Send updated policy documents to your new landlord or property manager
- 🧾 Make sure they’re listed as an “additional interested party” if required
- 📅 Keep a copy for your own records
This keeps your lease in good standing and avoids administrative delays on move-in day.
Step 9: Bundle or Re-Shop for Better Rates
Moving is the perfect time to revisit your insurance options. Many people find better coverage or lower premiums when they:
- 🔁 Bundle renter’s insurance with auto insurance
- 📊 Compare multiple quotes from different providers
- 📉 Adjust deductibles to lower premiums
Even a small premium reduction adds up over time, especially if your new address has lower risk factors.
Step 10: Know What Renter’s Insurance Doesn’t Cover
Renter’s insurance isn’t all-inclusive. Most standard policies don’t cover:
- 🌊 Flood damage (requires separate flood insurance)
- 🌪️ Earthquake damage (requires optional endorsement)
- 🚚 Damage caused by movers if not covered by their insurance
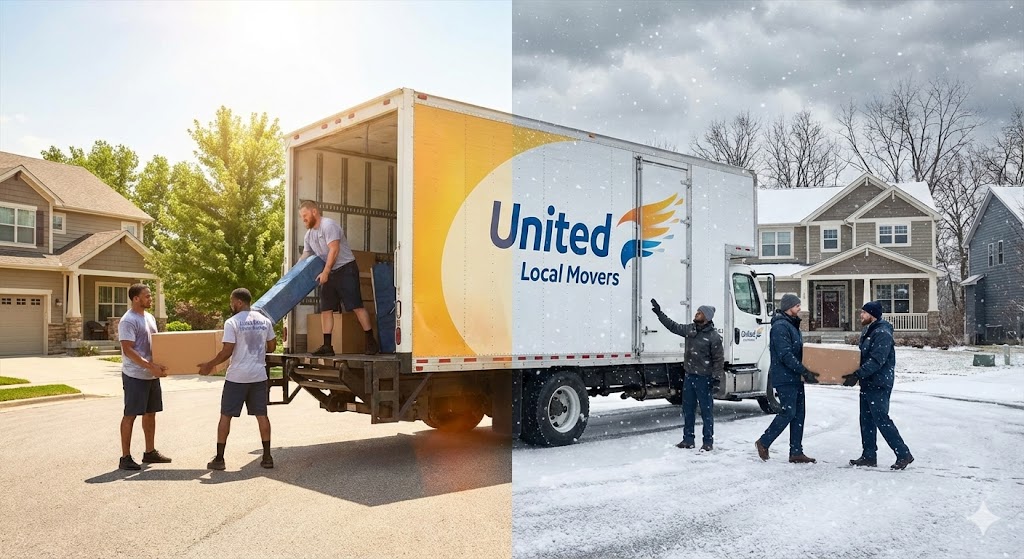
If you’re hiring a moving company, ask about their insurance coverage too. Professional movers like United Local Movers provide valuation coverage options that can work in tandem with your renter’s policy.
Step 11: Confirm Everything Before Moving Day
Before the truck arrives, make sure:
- ✅ Your new address is on file with your insurer
- 🧾 You’ve received confirmation of policy transfer or activation
- 📧 You have digital access to your policy documents
- 🛡️ Coverage start and end dates overlap properly
This final check ensures uninterrupted protection from the moment you leave your old apartment to the moment you unpack in the new one.
Staying Protected in Your New Home
Renter’s insurance may not be the most exciting part of your move, but it’s one of the smartest. By updating your policy early, reviewing your coverage, and keeping your records in order, you can protect your belongings and your peace of mind.
With United Local Movers, your relocation becomes safer, faster, and stress-free — backed by the right insurance protection every step of the way.


